You are surely familiar with the watermarks. Watermarks are the ways of identifying or verifying the property. Either you are a photographer or a blogger or graphic designer, you might want to use a watermark on your digital property. There are two major benefits of using the watermark on your pictures, videos or some documents:
- Increases your brand visibility
- Nobody can simply steal your property and use them.
Back when I started photography (self-taught), I was so excited to use a watermark on my photographs. But the problem was that I had zero ideas about Photoshop. And with very little idea about the Internet and available resources to create one, I had to struggle to create my watermark. That was like almost a decade ago. But now, time has changed.
I think watermarks are cool if you do them right. I tried flashy ones, a subtle and simple one, just the texts and with some graphics. Not just for my personal use but also for some professional purposes (some websites and organizations). If you are looking for simple ways to create your own watermark, then you got to stay with me on this post.
There are various ways to create watermarks including Photoshop and many web-based apps. I am learning to use Photoshop but PicMonkey had been my favorite to create watermark in a few simple steps.
Since PicMonkey made some changes recently (without pre-informing its users and yes, that set me off), you can no longer export your designs. Unless you apply for 7 days free trial, which you will only get access to after giving your credit card details for either annual or monthly plan, you cannot export your projects. Due to a lack of payment options, I had to look for other apps to create logo and watermarks.
And I came across Gravit. Having been familiar with both Canva and Photoshop, I find Gravit a combo of these two. In this post, I will lay out the steps of creating watermark in the simplest way I can, using Gravit.
Let’s start with getting onto the Gravit’s homepage.
This is what you will see.

Without further adieu, let’s get into creating watermarks.
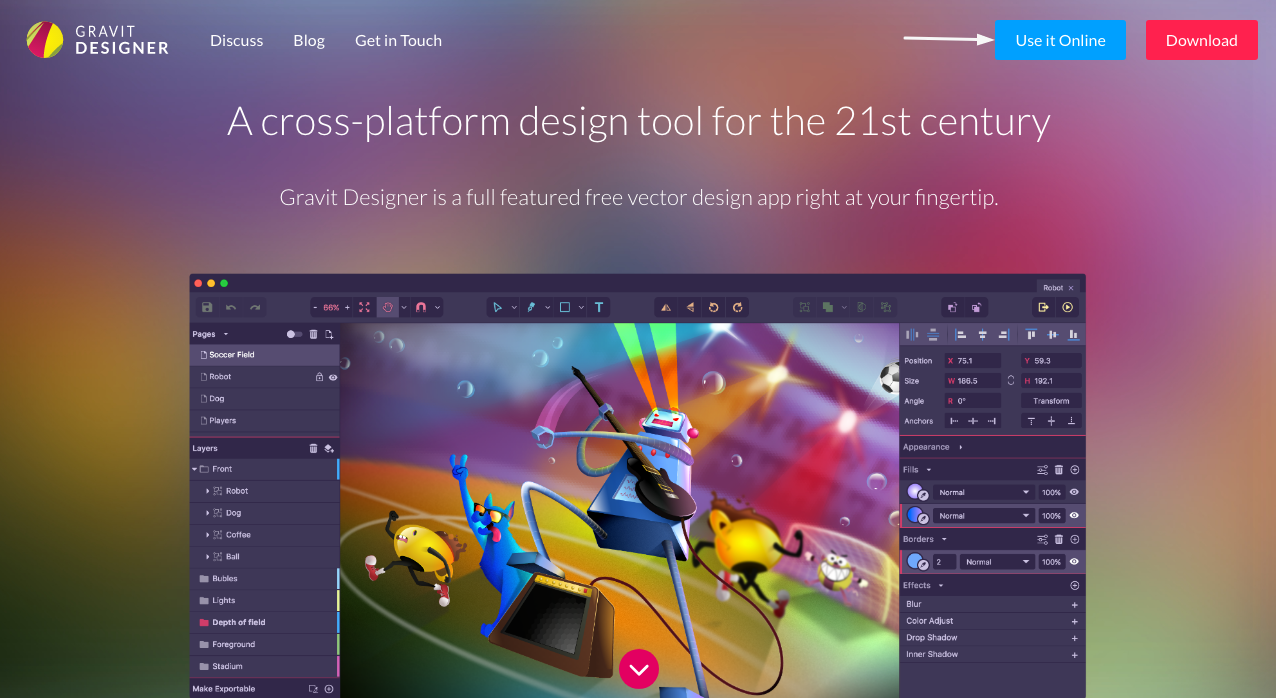
Click on ‘Try it now’ for Gravit Designer.

A new tab will open and you will get here. Click on ‘Use it online’. You can also download this app on your computer.
Another new tab will open.
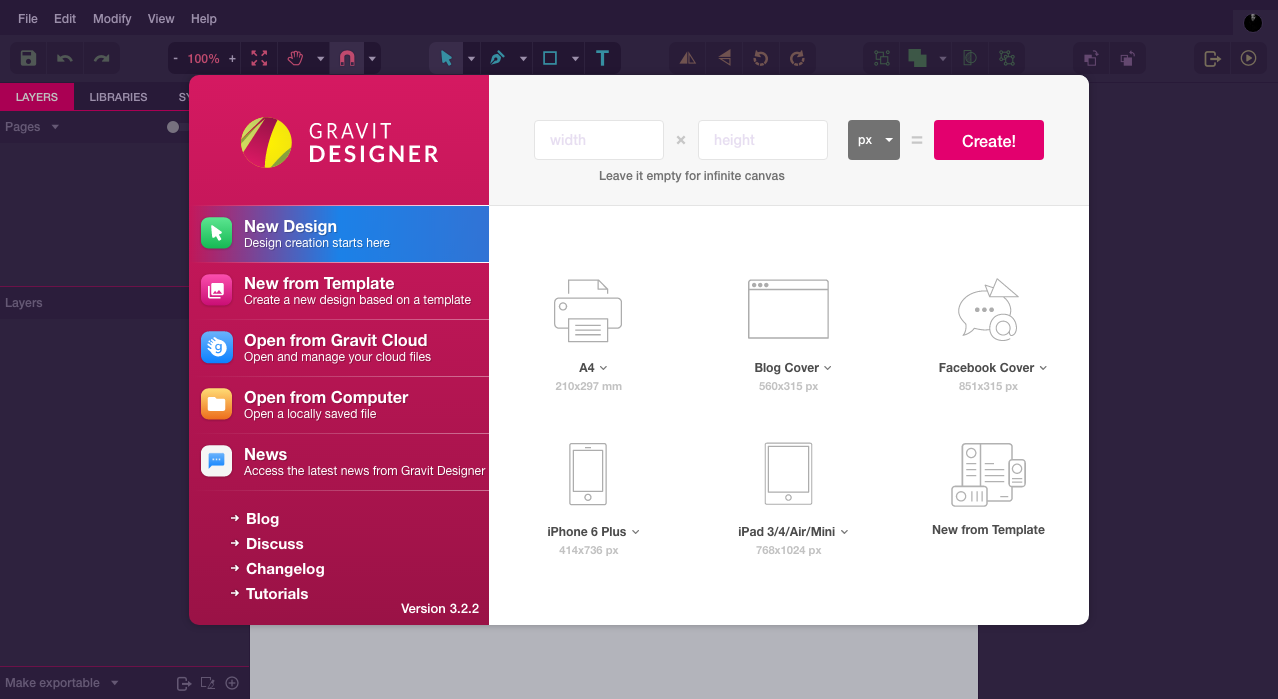
Insert your required pixels in both width and height, and hit ‘Create’. Here, I created the canvas of 2000×2000 px.
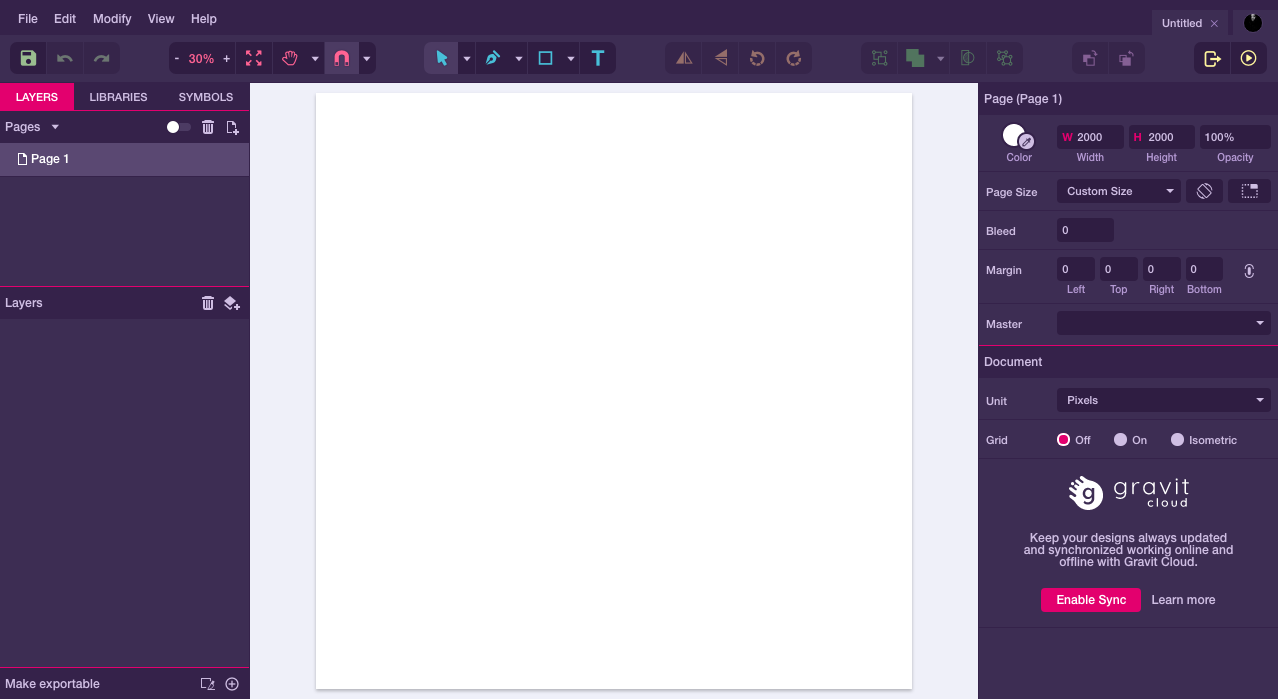
Now we are on our playground.
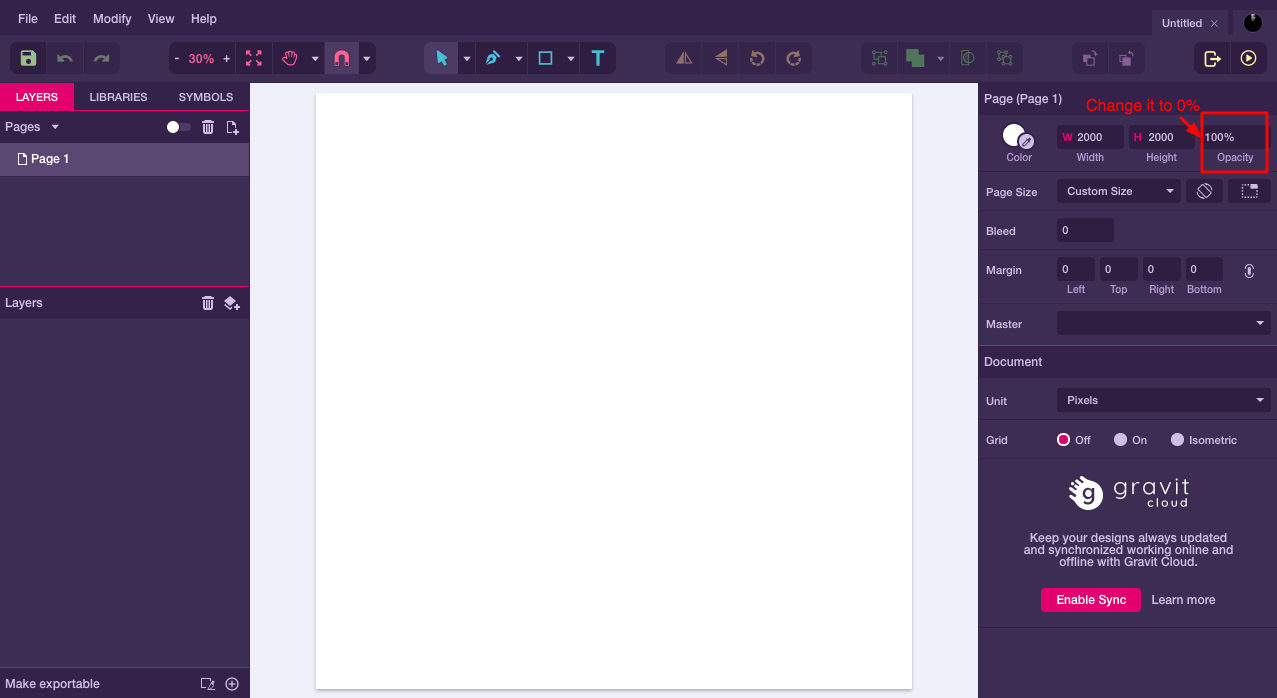
Step 1: Go to ‘Opacity’ on the right-hand side and change 100% to 0%.
Your white canvas turns into a transparent canvas.
Step 2: Go to the toolbar. Click on ‘T’, a text box will appear on your canvas. You can type whatever you want as your watermark.
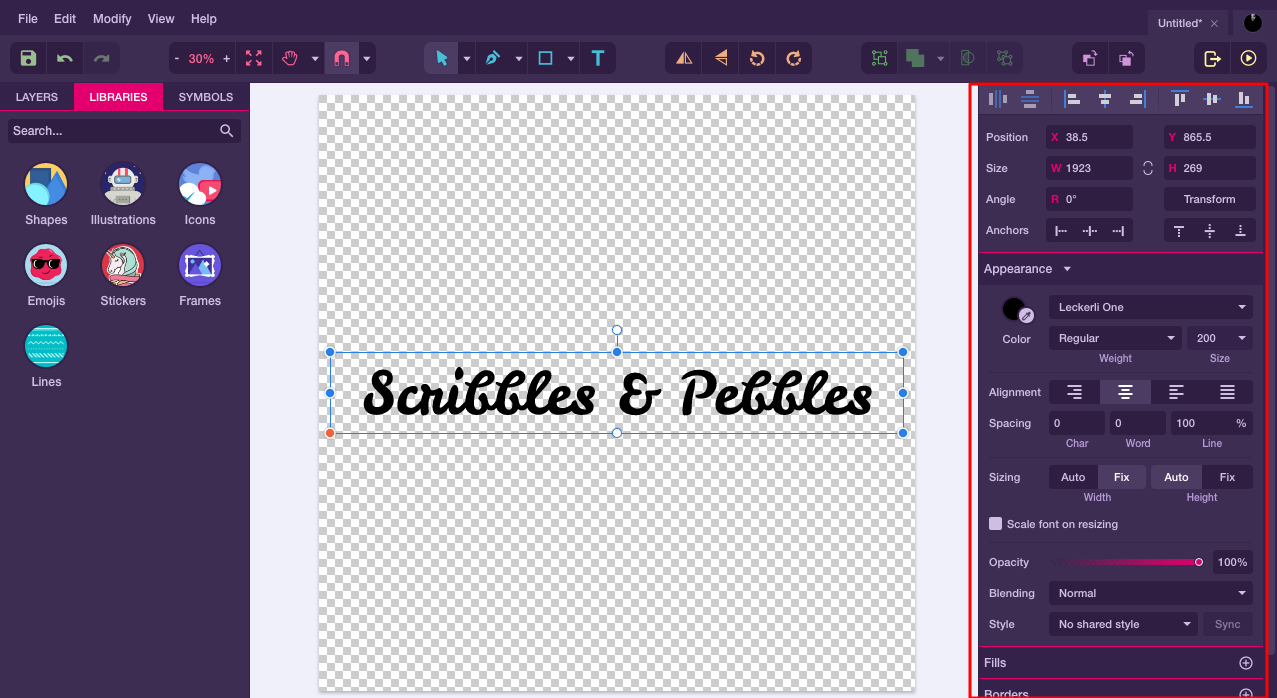
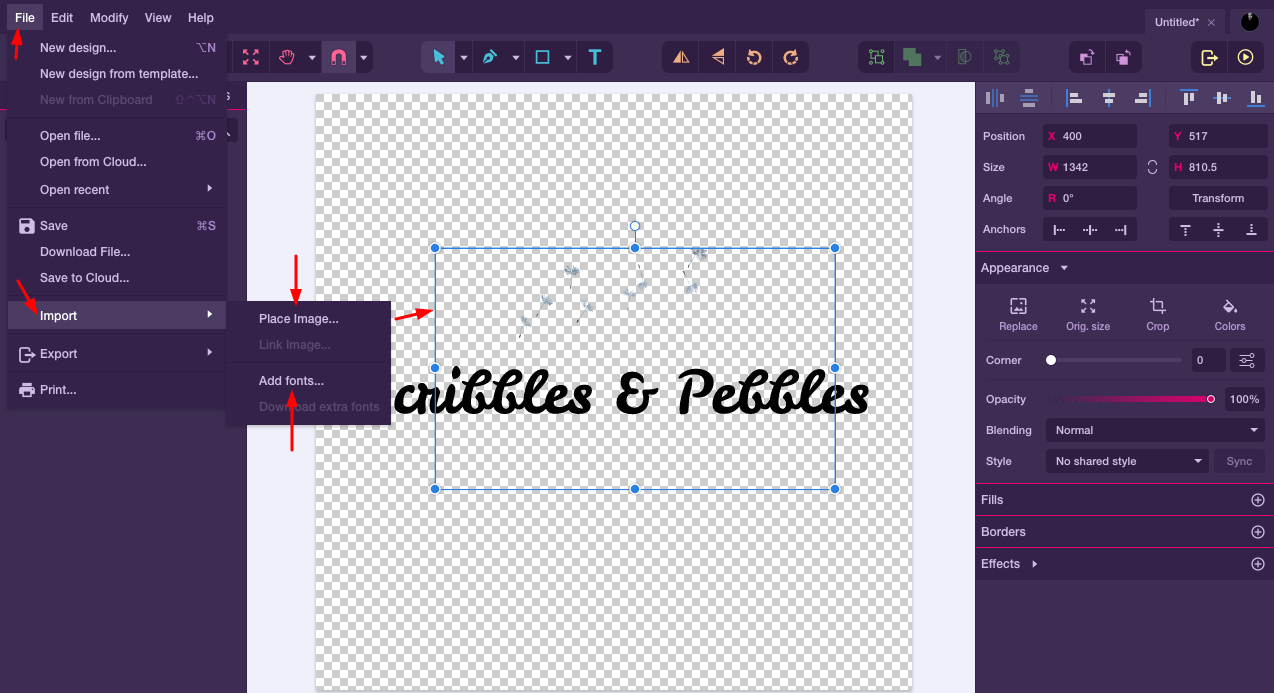
Step 3: You can play around with the fonts, font size, color, and styles. You can also add any image or fonts from your computer. Isn’t that great?
If you have your brand color then you can use that particular color. Just be careful while selecting the colors. Usually, when I design, I save the same design in black and white colors. This way I won’t be having the problem placing my watermark on both dark and light images and wherever needed.

The above design is just an example.
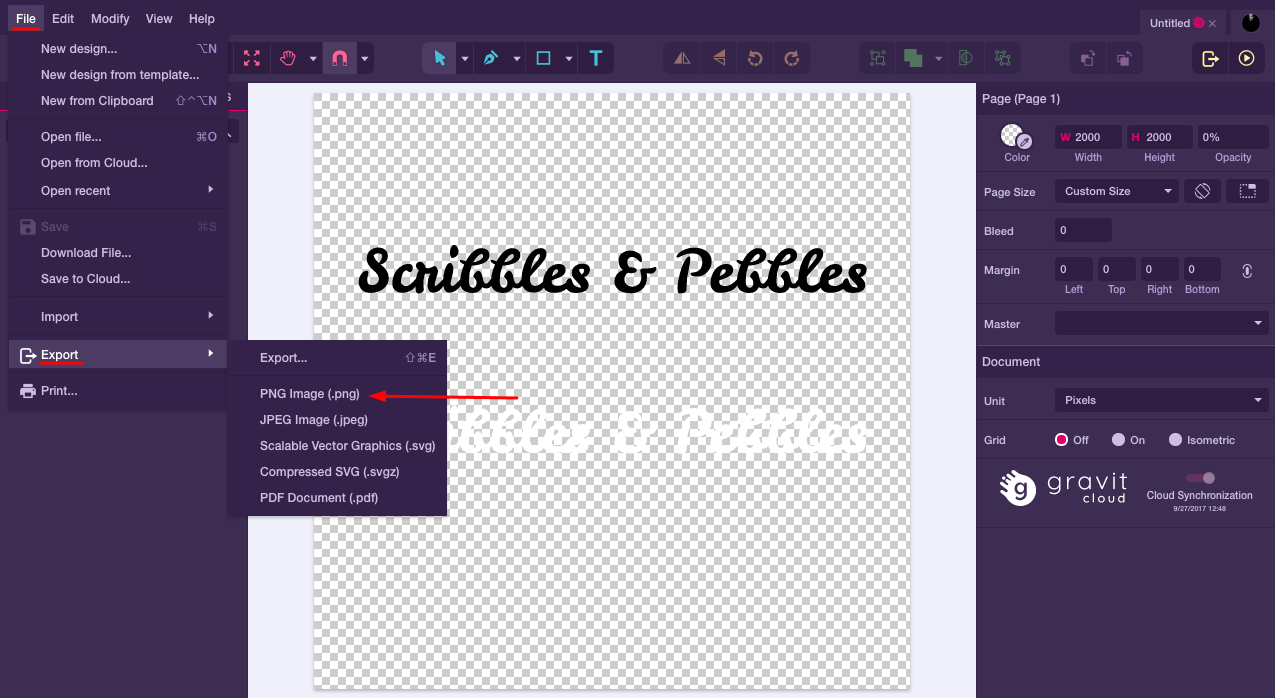
After you think you are done with the design, it’s time to save your watermark.
Step 4: Go to ‘File’, click on ‘Export’ and choose ‘PNG Image (.png)’. Your design will be downloaded to your computer.
You can crop the design to your required size afterward.
![]()
Wasn’t that easy?
Check: The Beginner’s Guide To Create Captivating Social Media Graphics Using Canva
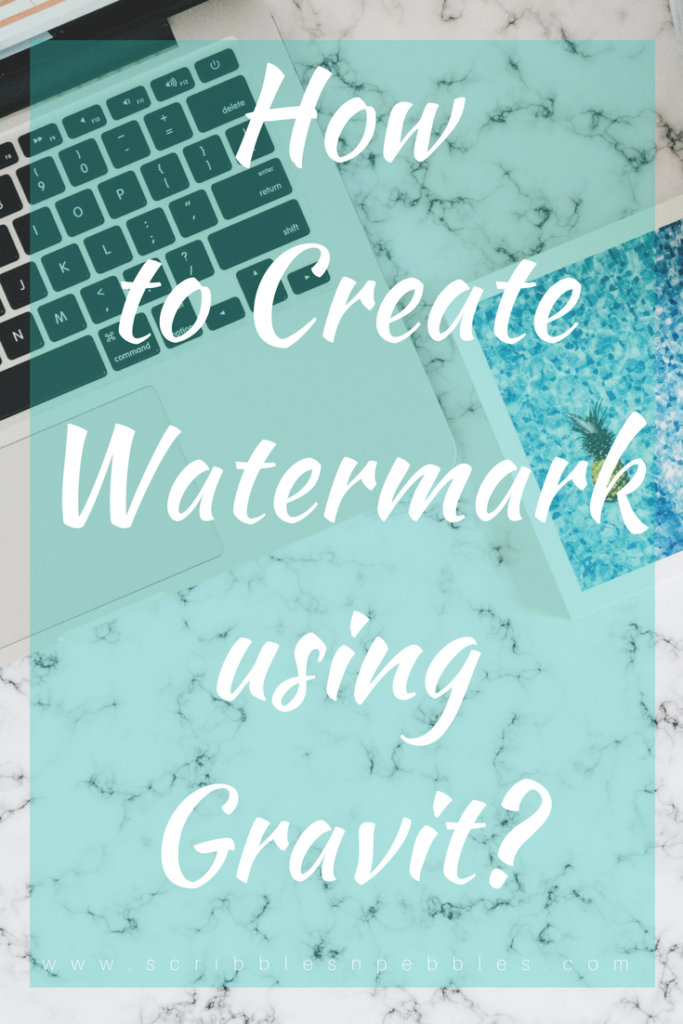
Pin this for later! ⇓
Let me know if this post was helpful.
Have a great day!